Ok, another article about granite crack repair! I promise this is new information.
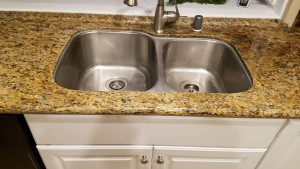
I looked at a crack in April that was 18 inches long and about 1/8 inch wide. The crack began near the center of the sink and extended just beyond the right side of the sink. The crack was in the center of the rail with no tributary cracks extending to either side of the rail. The entire kitchen was only about 40 square feet with a standard bullnose. The customer had agreed on a $1000 price to make the repair. Like most of these repairs, we evaluated and bid it over the phone based on pictures that our customer sent. Due to the number of calls we receive, to provide timely estimates to each caller, we can’t see every project in person.
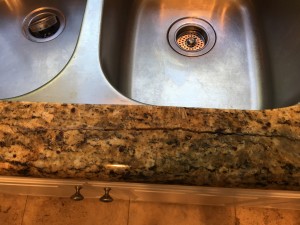
During the in-person evaluation that occurs at the start of each repair, in April, the customer concluded that the repair cost went a long way toward cost of total replacement for the counters in his small kitchen. As a courtesy I referred him to a local fabricator, refunded his deposit, and wished him luck with his project.
Seven months later he called again asking for the repair. For financial reasons he had to put aside his replacement project and as the months passed, the crack expanded and moved toward the bullnose. While the crack became more severe, the prospect for a successful repair actually became more certain. From the new pictures it appeared that we could break the sink rail, cut out the rod, and fit everything back together. After grinding and aesthetic adhesive repair, the crack would disappear.
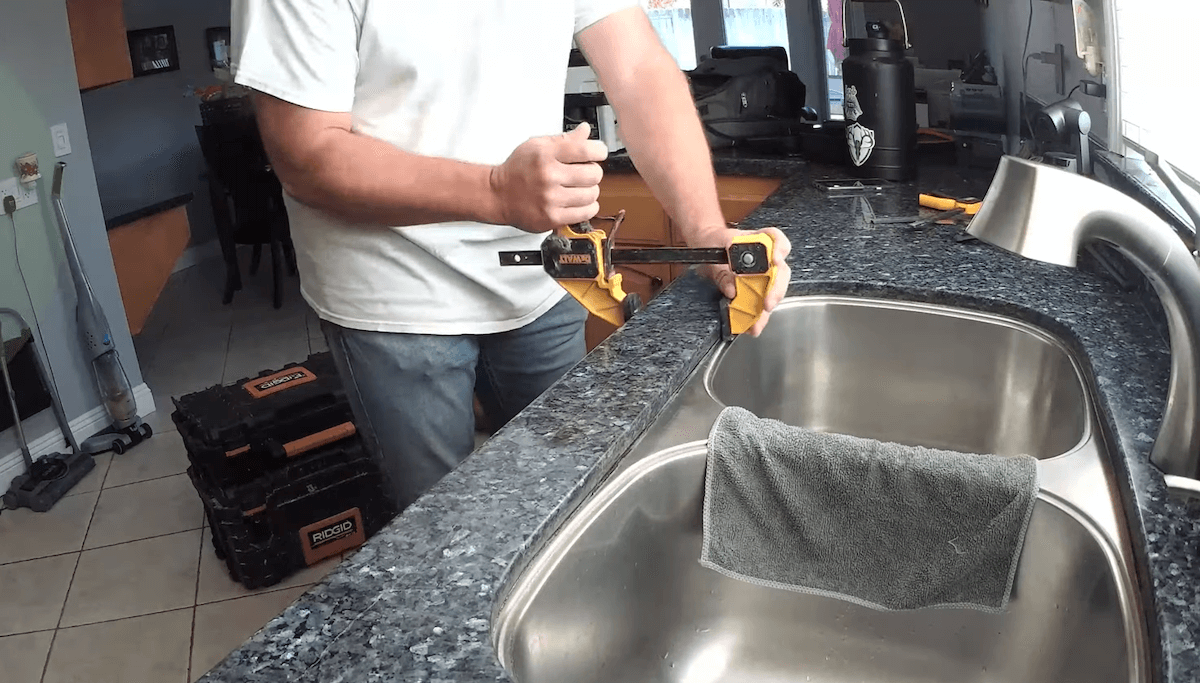
We arrived in mid-November to perform the repair. After clamping the sink rail on a spot that could be used as a fulcrum to break the pieces apart, the rod was cut and extracted where possible and covered with epoxy where it was still embedded in the granite above the subtop. Breaking the counter when possible, instead of cutting them saves material and allows us to put the pieces back together more seamlessly.
Once the rod was removed, the pieces were cleaned and prepped to be glued back in place using a true two part fast setting epoxy resin. The pieces were carefully glued back in place and clamped to make sure they stayed true and level during the curing process. The finishing process can then take place which includes grinding and polishing, and well as chip and hope filling.
I teach an in depth online class for these repairs that can be found here: https://stonecareedu.com/collections/professional-services/products/granite-repairs-crack-repair-seam-repair-other-misc-repairs
The videos below illustrate the two types of repair techniques. While we prefer to break and extract the rod, the more common repair is the injection method.
Here is an example of a project that allowed us to remove the rod:
If the rod can not be exposed, cut, and removed without causing further damage, the Epoxy Injection Method is used. The crack is cleaned out, dried with a torch or heat gun, and epoxy is injected into the crack in an attempt to coat the rod and hold the counter together. We use a real two part epoxy adhesive for this. Beware companies that use “flowing” or “penetrating” resins. These are not real epoxies and will break down around water.
Here is a video discussing three recent Injection Method repairs.
Ted is the owner of Sureshine Care and Restoration Services, Inc. in Orange County California with an office in Morgan Hill, California. Ted has been polishing and restoring natural stone and tile since 1987, has written a book on the subject and teaches a four day intensive hands on seminar to teach interested students the stone restoration trade. Most recently, Ted was instrumental in the completion of the new Stone Restoration Standard by the Marble Institute of America. For more information on the stone restoration standard click here.
If you are in need of services in the Bay Area or Southern California, please call us at (800)378-0266 or email repairs@sureshinecares.com.
